As a security service firm, you are tasked with a great deal of responsibility to meet your clients’ needs and to deliver a no-hiccup security service. But that’s the light at the end of the business tunnel and getting there requires steering through many a winding road and breaking down many obstacles. One major bottleneck in business is accurate record-keeping and then timely billing and payroll preparation.
As a physical security service business, we understand that handling the accounting back-end can be stressful, which is why we’ve integrated comprehensive number-crunching functionalities into our Contracts and Invoicing Module which is part of our Back Office Suite.
With TrackTik’s Back Office Suite, you can capture your field data in real-time and enjoy the automatic creation of your invoices as well as payroll-ready numbers to keep your accounting in order. Find out in detail below how you can tackle these two accounting needs in one shot and save precious dollars using the full suite of this intuitive software.
Pay your guards on time
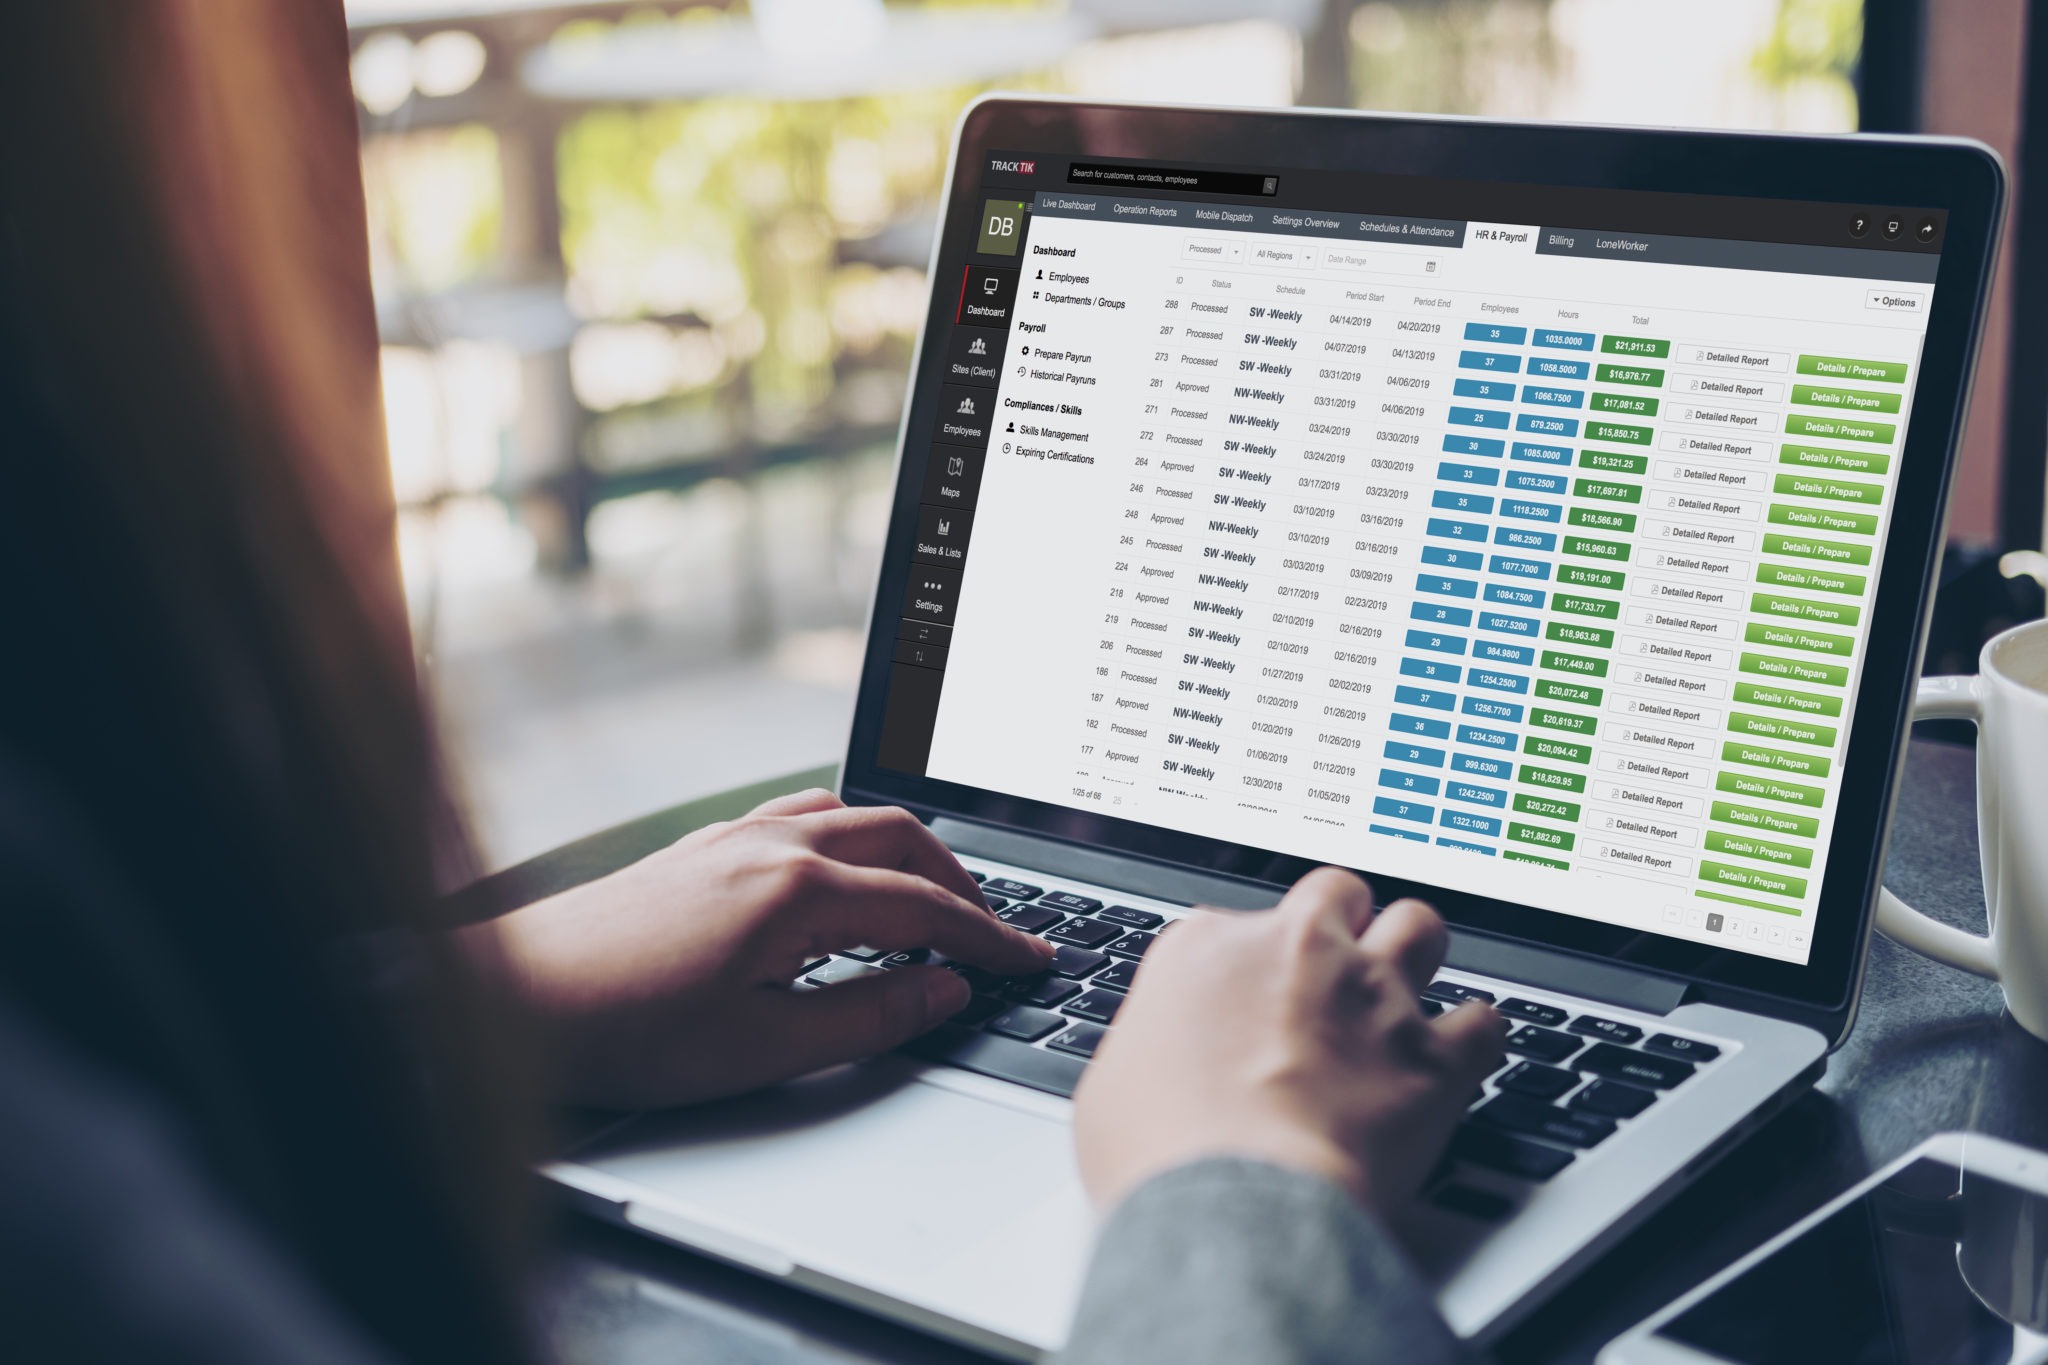
In order to keep your security guards happy, you have to stay on top of your payroll prep. Before exporting your payroll data from TrackTik, you will have to set up your guards’ profiles (the Employee HR Profiles).

After that, you can tweak their payroll settings (if different from the default pay rate set on your Back Office settings) as well as assign shifts to them by matching available shifts to their attributes and availability on your Scheduling Dashboard. Although default overtime rules are set for the system (and applied to all employees), you have the flexibility to add a different overtime rule to an Employee’s HR Profile.
Once you have the framework of your guard’s duties out of the way, you can access your individual employee’s profile to see the shifts currently assigned to them and if there is an unconfirmed shift, you can ‘send an acknowledgement reminder’ to the said guard.
You can also set a payroll schedule for your employees individually or by group/classification of your employees (salaried vs. hourly). You can then fine-tune this by defining a corresponding payroll cycle. To tweak and define a payroll cycle, you need to follow these steps:
- From the Live Dashboard, click on the “Settings Overview” tab.
- In the “General Settings” box, click on the [Manage Settings] button to access the default settings of the Dashboard.
- Select the Payroll Schedule option from the left menu, then select the option to create a ‘New Payroll Schedule.’
- Once the dialog box appears, enter the following data
- Label: The name of this specific pay schedule
- Frequency: Select the appropriate payroll frequency, i.e. weekly, bi-weekly, etc.
- Select the start of the first period: Based on the frequency chosen, select the first date that the payroll will start on and any subsequent dates, ex.: semi-monthly refers to the 1st and the 15th of the month
- Period Overlapping Shifts: If a shift is split over two pay cycles, select if it is to be included with the current pay cycle or if the hours are to be split into the cycle that they apply to, for ex. if a shift was from 10 pm – 4 am, two hours could be split from the remaining four or as an entire shift paid under the current active cycle.
Send accurate client invoices
The TrackTik software is well-equipped to automatically generate your client invoices for you based on the services you provided during any period of time. The invoice’s base rules include the mobile jobs, hours logged and recurrent items and this ‘draft automated invoice’ will be available for viewing readily. You can then validate the information before sending it off to your client. To do this, you must:
- Click on “Schedules” in the Invoice menu.
- Make sure each shift has a value in the “Approved” column (even if the approved hours are zero) since this allows the system to calculate a billing value for each shift.
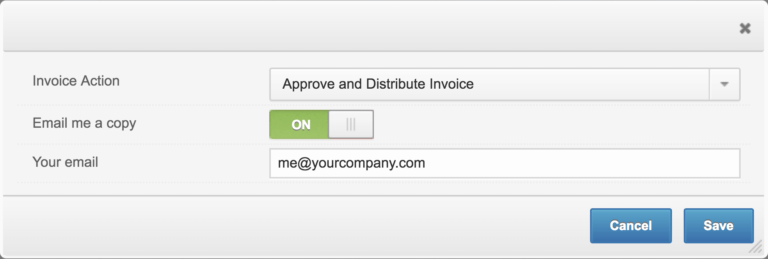
Prior to validating your invoice, you have options to access and verify your invoice details as well as edit your invoices manually. Then, you can distribute the correct invoice by your chosen method to your choice contact list (email is recommended).

To gauge the status of your business affairs at any point in time, you can use the Billing Dashboard. This gives you an overview of all your critical billing and receivables information, and is automatically updated and organized into easy-to-understand segments (that include your billing history and projections). It’s a very quick and painless way of getting your past, present and future billing info and data. It is divided into:
- Main Panels
Four panels at the top of the dashboard describe the state of all your invoices. Here you have quick access to urgent information, such as the number of invoices that need to be prepared, the number of invoices that are past due and the monthly generated revenue.
- Sub-panels
For a deeper dive, the sub-panels in the Billing Dashboard gives you details into the state of your invoices or a summary of sorts with information such as the value of your clients (a list of your top 10 clients), total receivables and revenue by service type or job. These panels essentially let you know where your money is coming from and how much revenue is generated overall.
Bookkeeping done right with TrackTik
By checking in frequently to the Billing Dashboard and regularly keeping track of your employees’ payroll data, you can make sure your security operation’s accounting processes don’t lag behind schedule and you can stay on top of your cash flow – always good when trying to meet those KPIs.


